
The Guest List: Organising It Before You Send
What exhausts families is rarely the design or the venue. It is collecting names and numbers. The time you spend organising the list now saves you hours of chasing later.
Start with three lists, not one
Family, then friends, then work and courtesy invitations. The benefit is that if you need to cut numbers later you know where to start without a long argument, and if the venue allows more you know who to add first.
Separate the men's and women's lists from the start
The costliest mistake is keeping both in one file and trying to split them the day before sending. The detail is in the men's and women's cards article.
Cleaning the numbers
- Remove duplicates. One person is often saved under two different names.
- Use one number format with the country code throughout.
- Write each name the way the person likes to be addressed, not the way it sits in your contacts.
- Add a column for how many companions each guest may bring.
An important point: the name as you type it is the name that appears on the card. A casually saved contact name printed on a formal invitation undercuts the whole thing.
From list to send
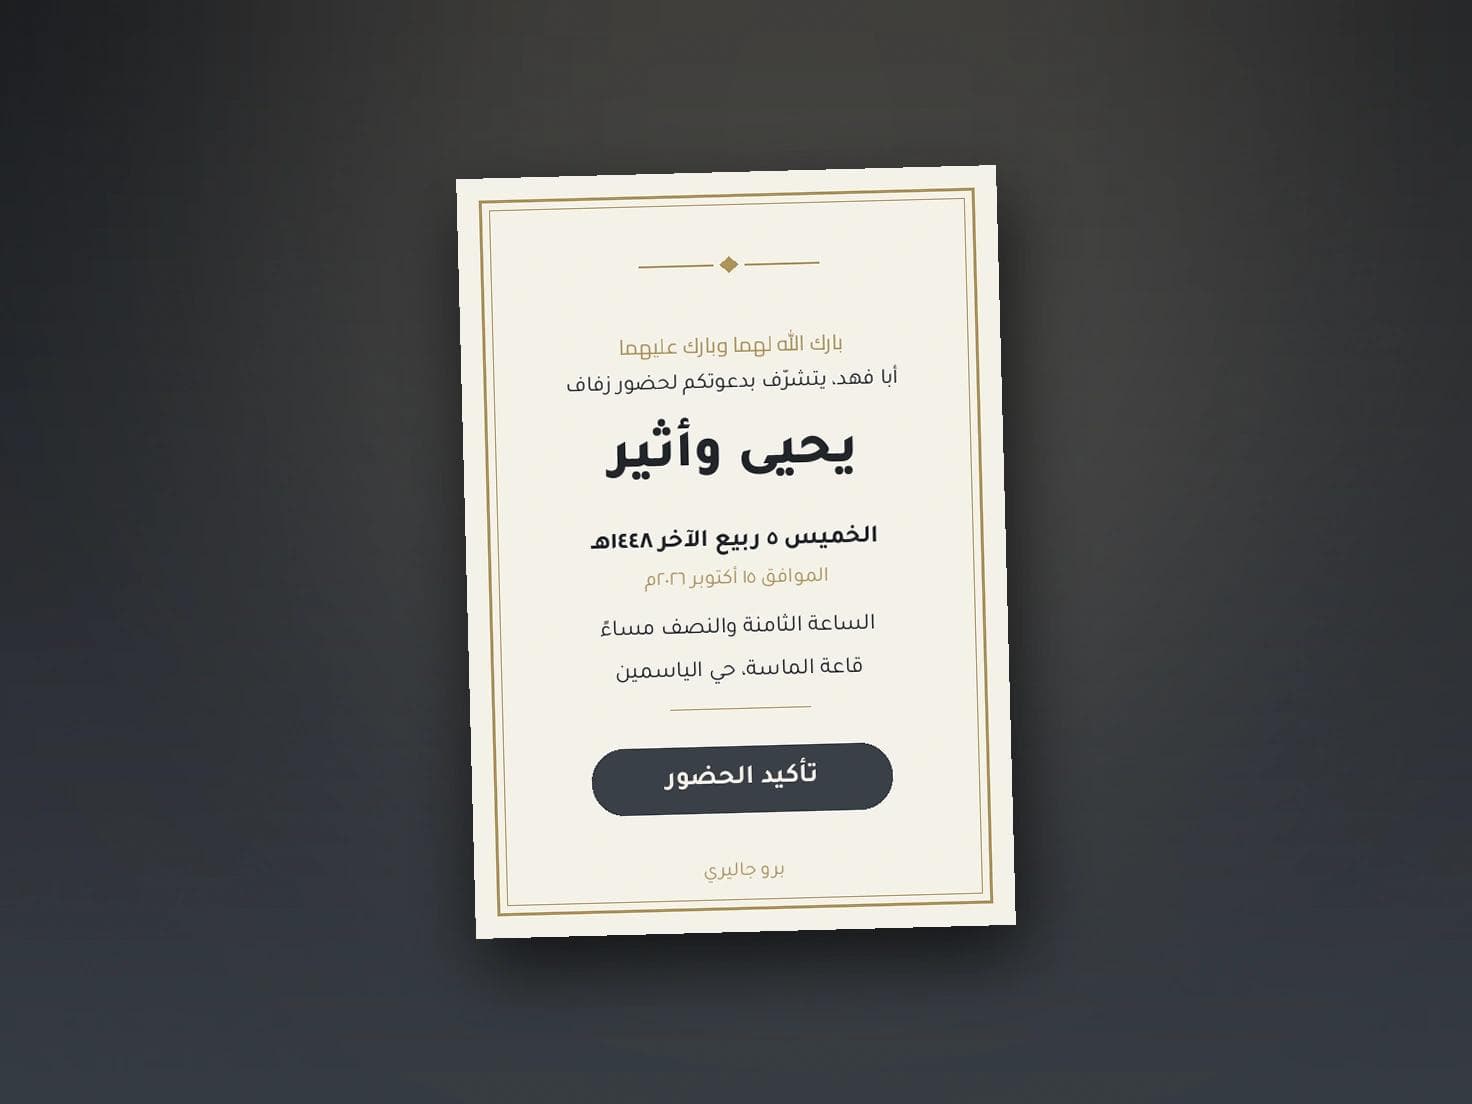
Once the list is clean, you upload it once to Pro Gallery invitations, and a card is produced for each guest under his own name and sent to his number, while the list stays saved for reminders and for your next occasion. And because you keep control, you can correct a name or a number even after sending.
Build your list today
Organise the names once, then send each guest an invitation in his own name with a confirmation button. Start with Pro Gallery here.